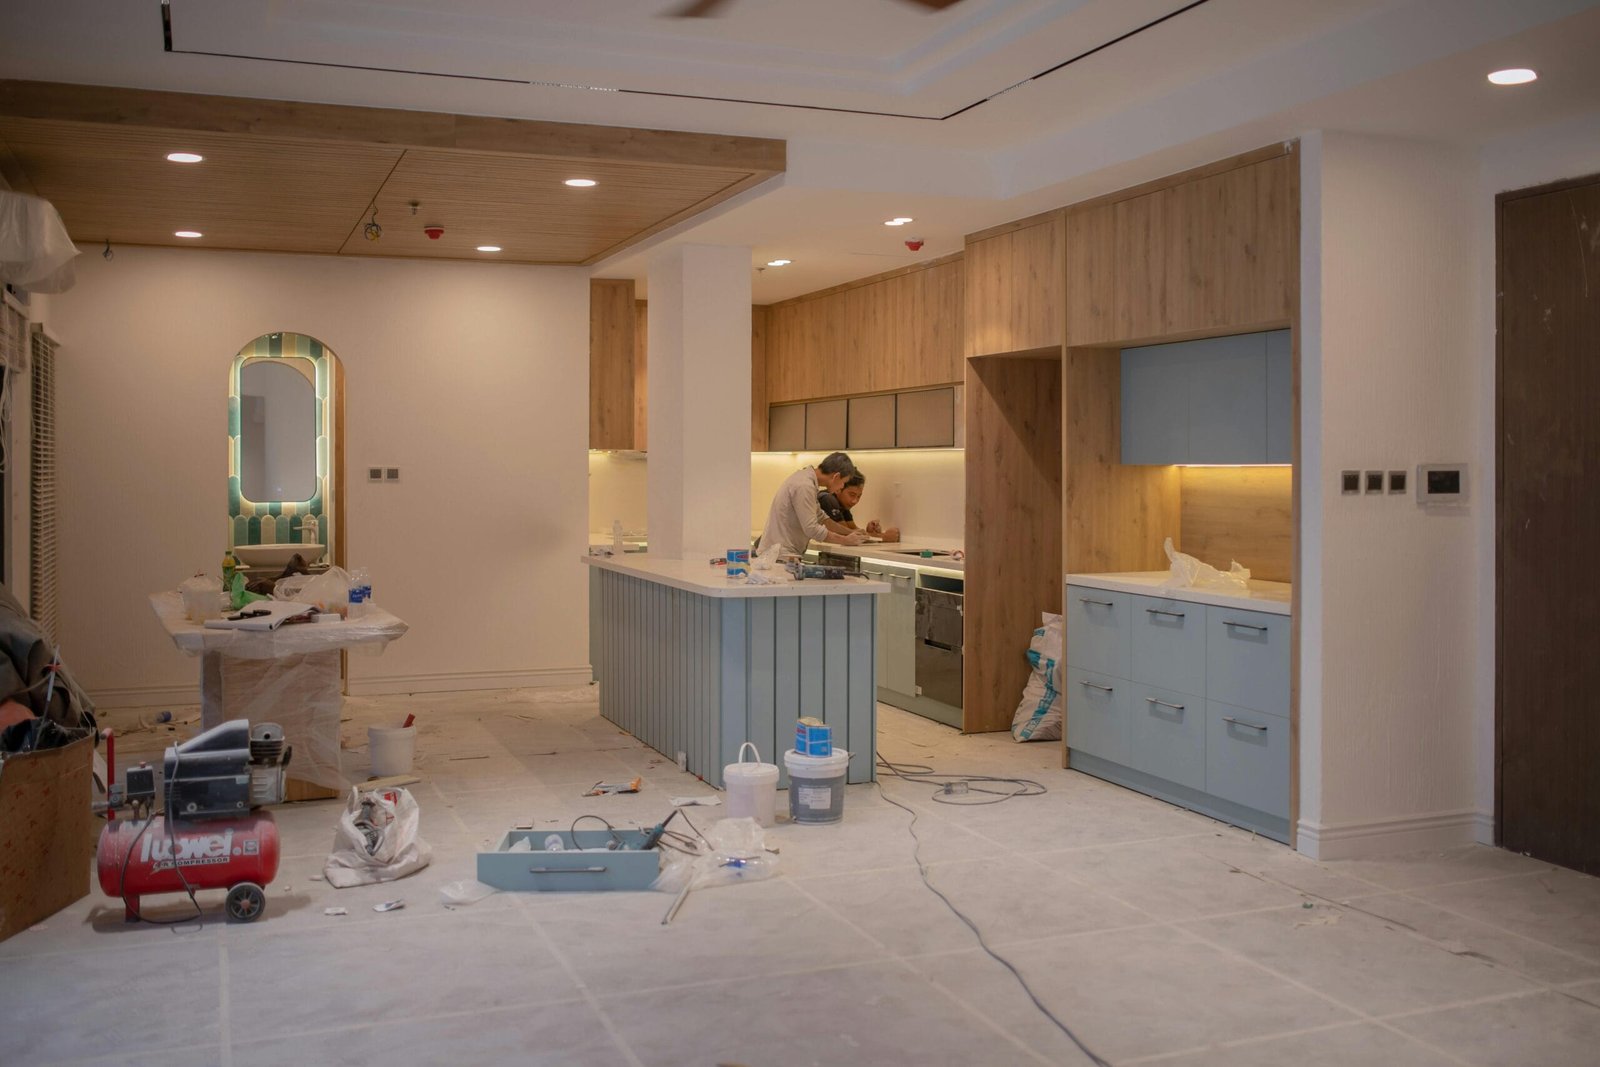
Redesigning your kitchen is an exciting project that can completely transform the heart of your home. It’s where your family gathers, meals are created, and memories are made. While the journey to a revamped kitchen can be thrilling, it also comes with a lot of decisions and planning. Whether you’re dreaming of a sleek modern look or something cozy and traditional, understanding where to start is crucial. This guide breaks down the steps to help you turn your vision into reality.
Step 1: Understand Why You’re Remodeling
Before you pick out paint colors or decide on appliances, it’s essential to identify the “why” behind your renovation. Start by asking yourself:
What problems am I trying to solve? Maybe the layout is cramped, or the storage doesn’t meet your needs.
How do I use the space? Is it mainly for cooking, or does it double as a space for entertaining, working, or family time?
What’s my style? Are you drawn to clean lines and minimalism, or do you prefer something warm and rustic?
By answering these questions, you can prioritize your goals and ensure your design aligns with your lifestyle.
Step 2: Decide on a Budget
Establishing a clear budget is one of the most critical steps in the remodeling process. Without a plan, costs can spiral quickly. Consider the following breakdown to help manage your spending:
Structural Needs: Allocate funds for foundational work like plumbing or electrical updates if needed.
Design Features: Decide how much you want to spend on cabinetry, countertops, and flooring.
Splurge Items: Save a portion of your budget for items you truly want, like a high-tech oven or luxury finishes.
Unexpected Costs: Set aside 10-15% for surprises. Renovations often uncover hidden issues, like outdated wiring or water damage.
A small kitchen makeover can cost as little as $10,000, while a complete overhaul can exceed $50,000. The key is knowing what you’re comfortable spending and sticking to it.
Step 3: Explore Design Inspiration
The fun part of any home improvement project is dreaming up the possibilities. Look for ideas in home magazines, social media, or by visiting showrooms. Here are some popular trends to get you inspired:
Open and Airy Layouts
If you’re tired of a cramped kitchen, removing upper cabinets or opening the space into a dining or living area can create a more inviting atmosphere.
Mixed Materials
Combine contrasting textures like wood and stainless steel, or pair natural stone countertops with sleek, painted cabinets for a fresh look.
Unique Backsplashes
A backsplash is a perfect place to inject personality. From geometric patterns to bold colors, this design feature can set the tone for the entire space.
Multifunctional Islands
Add storage, seating, and even built-in appliances to your island to make it the ultimate hub of the home.
Hidden Storage
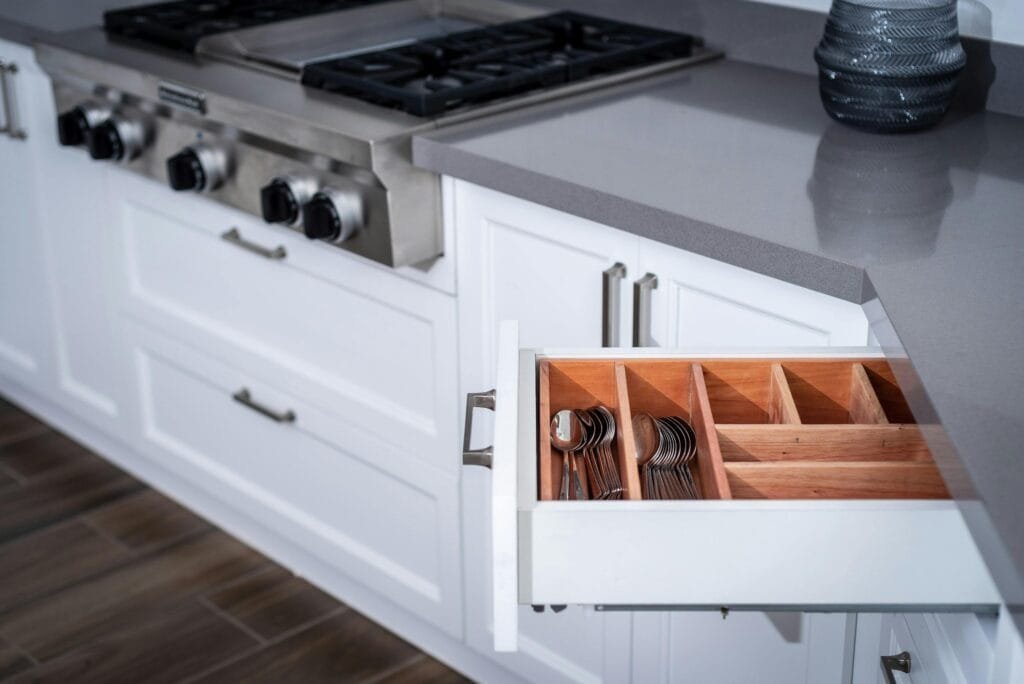
Innovative pull-out cabinets, spice racks, and lazy Susans can maximize space while keeping the design streamlined.
Take time to create a mood board or a digital folder of ideas to help clarify your vision.
Step 4: Plan the Layout
Your kitchen’s layout impacts its functionality more than any other factor. A great design makes everything flow seamlessly. Start with the basics:
The Work Triangle: Ensure your stove, refrigerator, and sink are positioned to create an efficient workflow.
Zoning: Assign areas for prep, cooking, and cleanup, so every activity has its own space.
Storage Access: Frequently used items, like pots and utensils, should be easy to grab without disrupting your workflow.
There are five common layouts to consider:
- Galley Layout: Best for small spaces, with two parallel countertops.
- L-Shape: Great for open plans, with counters on two adjoining walls.
- U-Shape: Offers plenty of storage and counter space.
- Peninsula: Like an island, but connected to a wall or counter for compact areas.
- Island Layout: Ideal for larger spaces, adding storage and workspace in the center.
Be mindful of how much walking or stretching you’ll do while cooking. A thoughtful layout can save you time and effort.
Step 5: Choose Materials and Finishes
Your choice of materials will determine not only how your kitchen looks but also how it holds up over time.
Cabinets
Cabinetry is often the most significant investment in a renovation. Options include:
Solid Wood: Durable and timeless.
MDF (Medium-Density Fiberboard): A cost-effective alternative with a smooth finish.
Open Shelving: A stylish way to display dishes but requires neatness.
Countertops
Your countertops endure heavy use, so choose wisely:
- Quartz: Low maintenance and highly durable.
- Granite: A natural option that’s heat and scratch-resistant.
- Butcher Block: Adds warmth and charm but needs regular sealing.
Flooring
Durability and aesthetics go hand in hand for flooring. Consider:
- Tile: Long-lasting and easy to clean.
- Hardwood: Classic and cozy but requires care.
- Vinyl Plank: Affordable and resistant to moisture.
Hardware and Fixtures
Don’t overlook small details like cabinet handles or faucets—they can elevate the look of the room.
Step 6: Decide Whether to DIY or Hire a Pro
Renovating your kitchen involves tasks that range from simple to highly complex. Deciding whether to tackle it yourself or hire professionals depends on the scope of the project and your skill level.
Pros of Hiring Professionals:
Expertise: Skilled contractors ensure quality work.
Efficiency: They’ll likely complete the project faster.
Stress-Free: You won’t have to worry about mistakes or safety hazards.
DIY-Friendly Tasks:
- Painting walls or cabinets.
- Installing new hardware or light fixtures.
- Tiling a backsplash (with some practice).
While DIY can save money, mistakes can be costly to fix, so weigh your options carefully.
Step 7: Create a Detailed Timeline
A well-organized timeline ensures your project runs smoothly. Break it into phases:
Planning and Design (2-4 Weeks): Finalize layouts, choose materials, and order appliances.
Demolition (1 Week): Remove old cabinets, counters, and flooring.
Structural Work (2-4 Weeks): Address plumbing, wiring, or ventilation.
Installation (4-6 Weeks): Install cabinetry, countertops, flooring, and fixtures.
Finishing Touches (1-2 Weeks): Paint, add hardware, and decorate.
Allow for some flexibility, as unexpected delays can occur.
Step 8: Prepare for Life During Renovation
Living through a kitchen renovation can be challenging, but a little planning makes it manageable:
Set Up a Temporary Kitchen: Use a spare table for a microwave, toaster oven, and small fridge.
Plan Meals: Stock up on easy-to-prepare food or arrange for takeout.
Protect Adjacent Rooms: Use plastic sheeting to minimize dust spread.
Step 9: Add Personal Touches
Once the heavy lifting is done, the details bring your kitchen to life. Think about:
Lighting: Combine recessed lights, pendant fixtures, and under-cabinet lighting for a layered look.
Decor: Add pops of color with rugs, plants, or artwork.
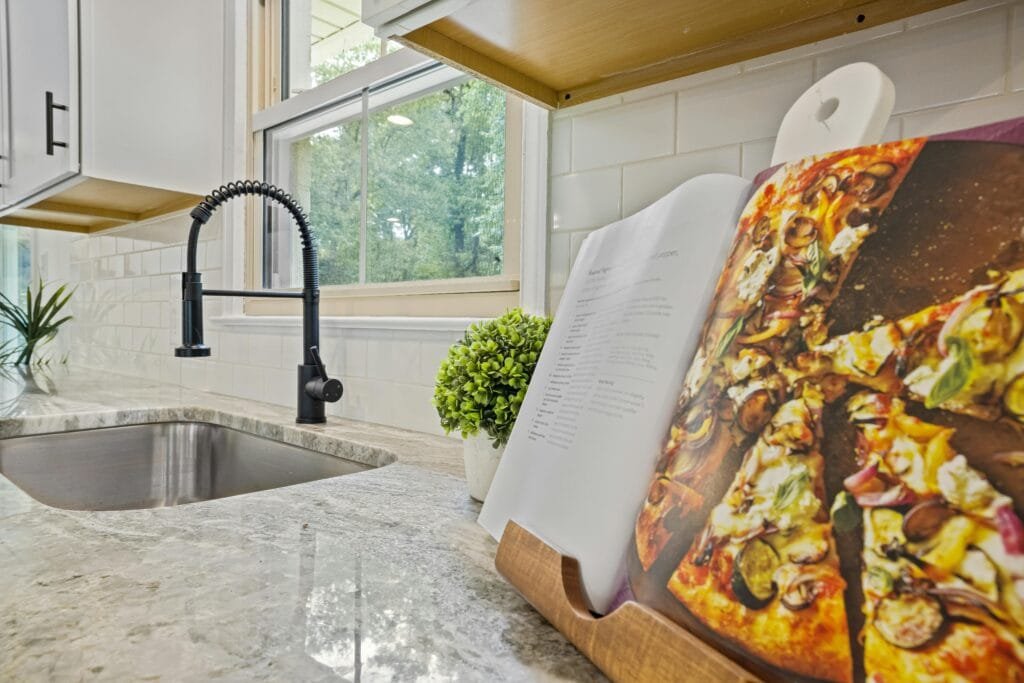
Functional Accessories: Invest in stylish canisters, cutting boards, or utensil holders.
Step 10: Celebrate Your New Space
After all the hard work, it’s time to enjoy your kitchen. Host a dinner party, cook your favorite meal, or simply relax and admire the transformation.
Wrapping It Up
Redesigning your kitchen is a big undertaking, but with a solid plan and a little patience, the result is a space that’s not only beautiful but also functional. Whether you handle the project yourself or bring in a team of experts, every detail brings you closer to creating the home of your dreams.
So, roll up your sleeves, take it one step at a time, and get ready to fall in love with your new kitchen!

