Drywall is one of the most common materials used in home construction, and while it’s durable, it’s also susceptible to damage. Small holes can occur from things like nails, screws, or even accidental bumps. Whether you have a small puncture from a picture frame or a nail hole that’s left a mark, fixing these minor imperfections is an easy task that most homeowners can tackle.
In this guide, we’ll walk you through the process of mending small holes in drywall. From understanding the type of damage to applying the right materials, we’ll provide everything you need to make your walls look flawless once again.
Materials You’ll Need
Before you get started, make sure you have everything you need to fix those small holes. Here’s a list of materials you’ll want to gather:
Spackling paste or joint compound: The main material used to fill the hole.
Putty knife: A tool to spread the spackling or compound over the hole.
Sandpaper: Typically 120-150 grit for smoothing out the surface once it’s dry.
Primer and paint: To cover the patch and blend it with the surrounding area.
Paintbrush or roller: For applying the paint.
Dust mask: Optional but recommended, especially when sanding.
Now that you have everything ready, let’s dive into the steps.
Step 1: Assess the Damage
The first thing you need to do is assess the size of the hole. This will help determine which materials you need to use and the steps involved.
Small Holes (1/4 inch to 1/2 inch)
These are the easiest to handle and can typically be filled with spackling paste. They’re most commonly caused by nails or screws.
Medium Holes (1/2 inch to 2 inches)
These holes are larger and might require a patch to ensure the wall is properly supported. You’ll likely need joint compound along with mesh tape to make sure the area is stable.
Larger Holes (2 inches or more)
Although this article focuses on small holes, larger ones will need more extensive work, like replacing a section of drywall. These are typically outside the scope of a simple DIY fix.
If you’re dealing with a smaller hole, continue on to the next step.
Step 2: Clean the Hole
Before applying any material to the hole, make sure the area around it is clean. Use a utility knife to trim away any ragged or jagged edges from the hole. This ensures that the new material sticks properly.
For puncture holes, gently tap the edges with a hammer to smooth them out. If there’s dust, dirt, or grease around the hole, wipe it down with a damp cloth, then let the area dry completely.
Step 3: Apply Spackling or Joint Compound
For small holes, you can use spackling paste to fill the gap. Here’s how to apply it:
Scoop the paste onto your putty knife.
Spread a thin layer over the hole, making sure it’s completely filled. Apply the paste in a smooth, circular motion to ensure it blends with the surrounding wall.
Smooth out the surface. If there’s excess paste, scrape it off with the putty knife.
Let the paste dry. This usually takes 1-2 hours, depending on the product you’re using.
For holes larger than 1/2 inch, you might need a mesh patch or joint compound for added stability:
For mesh patches: Place the patch over the hole and cover it with joint compound. Spread the compound evenly to ensure a smooth, seamless finish.
For joint compound: Apply a thin layer over the hole and let it dry. You may need to apply multiple coats for larger holes.
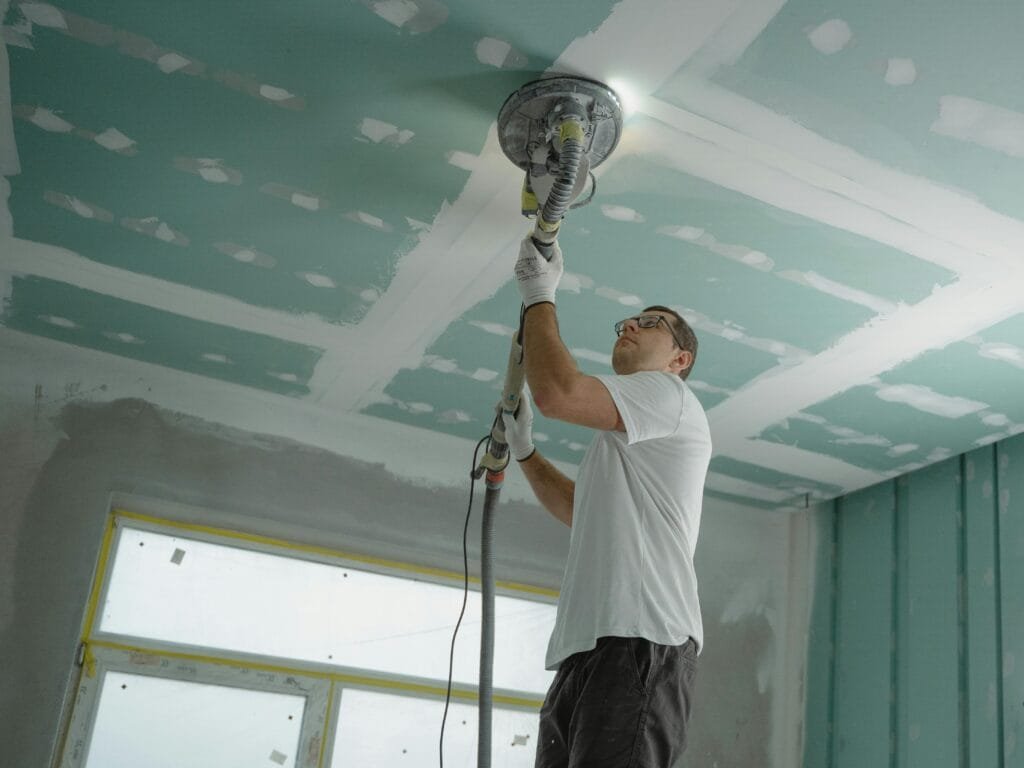
Step 4: Sand the Area Smooth
Once the paste or compound has dried completely, it’s time to sand it down to match the surrounding surface.
Use sandpaper (120 to 150-grit) to lightly smooth the surface. Sand in a circular motion to avoid creating grooves.
Check the surface. If the area is still uneven, apply another thin layer of spackling paste, let it dry, and sand again until it’s completely smooth.
Step 5: Apply Primer and Paint
Once the surface is even and smooth, it’s time to give it a finished look. Follow these steps:
Apply primer to the patched area. Primer helps seal the paste and ensures that the paint adheres well to the surface. Let it dry according to the instructions on the primer label.
Paint the patched area with the same color as the rest of the wall. Depending on the wall color, you may need to apply one or two coats of paint. Allow the first coat to dry before applying the second.
Step 6: Clean Up
After the paint has dried, it’s time to clean up the area.
Wash your tools: Use warm, soapy water to clean your putty knife and any other tools you used.
Dispose of materials properly: If you have excess paste or paint, store them according to the manufacturer’s instructions for future use.
Tips for a Smooth Finish
- Use a smaller putty knife for more precision when applying spackling to smaller holes.
- If you’re unsure about the color of your paint, try to get a custom match at your local hardware store.
- Don’t rush the drying process. Let each layer dry fully before sanding or painting to ensure the best finish.
- For slightly bigger holes, consider using drywall tape before applying joint compound for a smoother, stronger finish.
Conclusion
Fixing small holes in drywall doesn’t have to be difficult. With the right tools and a little patience, you can restore your walls to their original state without spending a fortune. Whether it’s a tiny nail hole or a small puncture, the process is easy enough for DIYers to handle.
Now that you know how to address small drywall imperfections, you can keep your home looking neat and well-maintained. Remember, with a smooth finish and a fresh coat of paint, those small holes will be nothing more than a distant memory.

