Drywall, commonly known as sheetrock or wallboard, is a crucial element in modern construction. Its smooth, sturdy surface makes it ideal for walls and ceilings in homes and businesses. However, drywall can experience wear and tear over time, resulting in visible damage. Whether due to accidents, daily use, or water exposure, fixing drywall is necessary to maintain both the functionality and visual appeal of your space.
In this detailed guide, we’ll explore the various steps, tools, and materials involved in restoring drywall, so you know exactly what the process entails when tackling this common home improvement task.
What Is Drywall Restoration?
Drywall restoration is the process of addressing any damage or imperfections in drywall surfaces to ensure they are smooth, structurally sound, and visually appealing. This typically involves assessing the extent of the damage, preparing the area, applying new materials, and finishing with painting or texture touch-ups.
Types of Drywall Damage
Before you begin, it’s essential to recognize the type of damage you’re dealing with, as this will affect the approach and materials required for restoration.
1. Nail or Screw Holes
Common Causes: Hanging pictures, shelves, or artwork.
Typical Fix: Small holes usually require minimal work, often filled with spackle or lightweight joint compound.
2. Cracks
Common Causes: Settling of the building, fluctuations in temperature, or poor installation.
Typical Fix: Cracks are typically filled, reinforced with tape, and covered with joint compound.
3. Dents and Scratches
Common Causes: Accidental furniture impacts, bumps, or everyday scuffing.
Typical Fix: Minor dents can be filled with a thin layer of spackle.
4. Holes (Small to Large)
Common Causes: Doorknob impacts, accidents, or intentional alterations.
Typical Fix: Small holes are usually patched, while larger ones may require replacement sections of drywall.
5. Water Damage
Common Causes: Leaks, flooding, or high humidity levels.
Typical Fix: Severely affected areas are often removed and replaced to prevent further issues such as mold growth.
6. Sagging or Bulging
Common Causes: Water damage or improper installation.
Typical Fix: The affected area may need to be removed and replaced entirely.
Tools and Materials for Drywall Restoration
To achieve the best results, using the correct tools and materials is essential. Below is a list of the necessary equipment.
Essential Tools:
- Utility knife
- Putty knives (various sizes)
- Sanding block or sanding sponge
- Drywall saw or keyhole saw
- Drill and screws (for larger projects)
- Taping knife
Materials Needed:
- Joint compound or spackle
- Drywall tape (paper or mesh)
- Drywall patches
- Replacement drywall panels (for larger issues)
- Primer and paint
Step-by-Step Guide to Drywall Restoration
1. Assess the Damage
The first step is to evaluate the extent and type of damage. Assess whether the issue requires a minor touch-up or a more comprehensive solution.
2. Prepare the Area
Protect the Space: Lay down drop cloths to catch debris and dust.
Clean the Surface: Wipe down the damaged area to remove any dirt or grease.
3. Address Minor Holes and Cracks
Fill the Hole: Use a putty knife to apply spackle or joint compound over small holes or cracks.
Smooth the Surface: Scrape off excess compound to ensure a flat finish.
Sand Once Dry: Lightly sand the area for a smooth and flush surface with the surrounding wall.
4. Handle Larger Holes
Cut and Remove Damaged Drywall: Use a drywall saw to cleanly cut out the damaged section.
Attach a Backing: Insert a wooden piece or mesh behind the hole for support.
Apply a Patch: Secure the new drywall piece with screws or adhesive.
Tape and Mud: Cover seams with drywall tape and apply thin layers of joint compound. Smooth each layer, allowing it to dry before adding more.
Sand and Repeat: Once the compound is dry, sand the area and apply additional layers if needed.
5. Address Water Damage
Identify the Source: Ensure the cause of the water damage is fixed before beginning work.
Remove Affected Areas: Cut out and replace the drywall sections that are severely damaged to prevent mold or mildew.
Reinforce and Restore: Install new drywall and secure the seams with tape, then apply joint compound.
6. Texture Matching (Optional)
Replicate Texture: Depending on your home’s finish, you may need to match the existing wall texture using tools like sprayers, stipple brushes, or rollers.
Practice First: Test the texture technique on a scrap piece of drywall to ensure a good match.
7. Prime and Paint
Once the restoration is complete, apply a primer to seal the surface, followed by paint to match the existing color and finish of your wall.
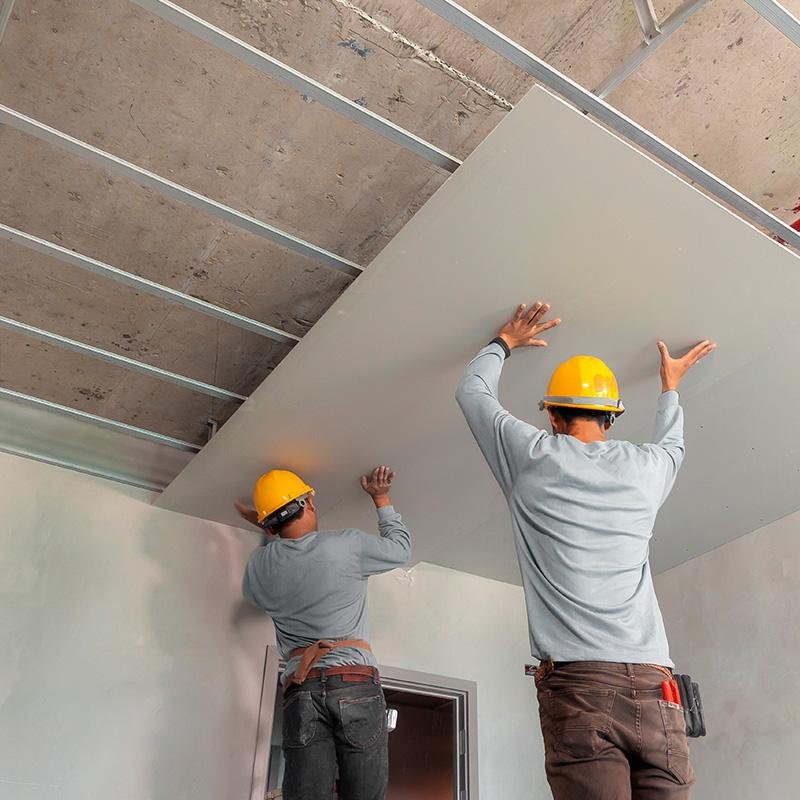
When to Call a Professional
While minor damage can often be managed independently, there are situations where calling a professional might be the best option:
Extensive Damage: If the damage is widespread or includes multiple affected areas, you may need a professional for a more comprehensive solution.
Water or Mold Concerns: Water damage that affects large areas or causes mold may require specialized knowledge and equipment to address.
Time Constraints: A professional can complete large or time-consuming tasks efficiently, freeing up your time for other responsibilities.
Tips for a Successful Restoration
Work in Thin Layers: Apply joint compound in thin, even layers to reduce drying time and prevent cracks.
Use the Right Tools: Invest in quality tools, as they can make the job easier and more precise.
Match Paint and Texture: Bring a sample of your existing wall color to a paint store to ensure you get an exact match.
Be Patient: Allow sufficient time for each layer to dry before moving on to the next step.
Cost of Drywall Restoration
DIY Projects
- Small projects: $10–$50 for materials.
- Larger DIY projects: $50–$200, depending on the extent of the damage.
Professional Services
- Minor projects: $100–$300.
- Major damage or more extensive work: $500 or more, depending on labor and materials.
Preventing Future Drywall Damage
To avoid frequent restoration projects, consider these preventative tips:
Install Doorstops: Prevent doorknob impacts on walls by installing doorstops.
Control Humidity: Keep humidity levels in check, especially in bathrooms or basements, to avoid water-related damage.
Be Mindful of Wall Hangings: Ensure heavy items are securely fastened to the wall using proper anchors to avoid strain.
Conclusion
Drywall restoration encompasses a wide range of tasks, from addressing small holes and cracks to replacing entire panels that have been damaged by water. Whether you choose to handle the task yourself or hire a professional, understanding the process and having the right tools and materials can help you achieve a smooth, flawless finish.
Taking the time to address drywall issues not only improves your home’s aesthetic appeal but also helps maintain its structural integrity for years to come.

